Rust on AWS Lambda
AWS Lambda is an amazing event-based compute service capable of running a function without worrying about the underlying infrastructure. Currently it supports Node.js, Java (and JVM based langs) & Python. It's a brilliant tool for micro-services.
In this article I'll show you how to run some Rust code on AWS Lambda even if Rust is not officially supported.
Our micro-service
We will create a simple service that will determine if a string is a valid email address.
Let's start a new cargo project:
λ cargo new email-checker --bin
We will need the regex crate. In Cargo.toml:
[dependencies]
regex = "0.1.41"
Then our service implementation in src/main.rs:
extern crate regex;
use regex::Regex;
use std::env;

fn main() {
    println!("Starting email-checker...");

    // Create an email regular expression
    let re = Regex::new(r"^\w+([-+.']\w+)*@\w+([-.]\w+)*\.\w+([-.]\w+)*$").unwrap();

    // Match the first argument against the regular expression
    match env::args().nth(1) {
        // We have an argument
        Some(email) => {
            if re.is_match(&email) {
                println!("{} is a valid email.", email);
            } else {
                println!("{} is NOT a valid email.", email);
            }
        }
        // No argument provided
        None => {
            println!("Please provide a string to test.");
            return;
        }
    };
};
Generate a Rust binary
My machine is running OS X, AWS Lambda runs Linux. I tried to cross-compile a Linux binary on Darwin but that was too much of a hassle. In order to get the same environment as my lambda function will run on, I simply created an EC2 t2.micro instance to compile my code.
Create an Amazon Linux EC2 instance, ssh onto it and run:
λ sudo yum install git
λ sudo yum groupinstall "Development Tools"
to get a working development environment. Then clone your email-checker repo and run:
λ cargo build --release
λ cp target/release/email-checker ./email-checker-linux
We now have a working Linux binary w00t! Commit and push the binary to your repo, you can terminate the instance.
The Node.js wrapper
Since Rust is not supported by AWS Lambda, we will write a simple Javascript module that will spawn a child process with our Rust binary. That's the main trick of this article :). Note that we could ship a Haskell, Go, OCaml or whatever binary the same way.
Let's create a main.js at the root of our project:
var child_process = require('child_process');

exports.handler = function(event, context) {
    // event is the JSON we provide to our lambda function. More on this later.
    console.log(event["email"]);

    // spawn a child process with our email-checker-linux binary and the
    // event["email"] value for our argument.
    var proc = child_process.spawn('./email-checker-linux',
                                    [ event["email"] ],
                                    { stdio: 'inherit' });

    proc.on('close', function(code) {
        if(code !== 0) {
            return context.done(new Error("Process exited with non-zero status code"));
        }

        context.done(null);
    });
}
Packaging our service
In order to upload our code to AWS lambda, we just have to create a zip
file containing our main.js and our email-checker-linux binary.
Creating a lambda function
Log in to the AWS console, click on Lambda in the Compute section
and click Get started now. We are then shown a list of lambda
functions blueprints. We will not use a blueprint for our example so
click Skip. Next we need to configure our lambda function.
Fill in the name of the function, its description and choose the Node.js runtime.

Figure 1: Setup lambda function
In the Lambda function code section, choose Upload a .ZIP file and
upload the file we created previously.
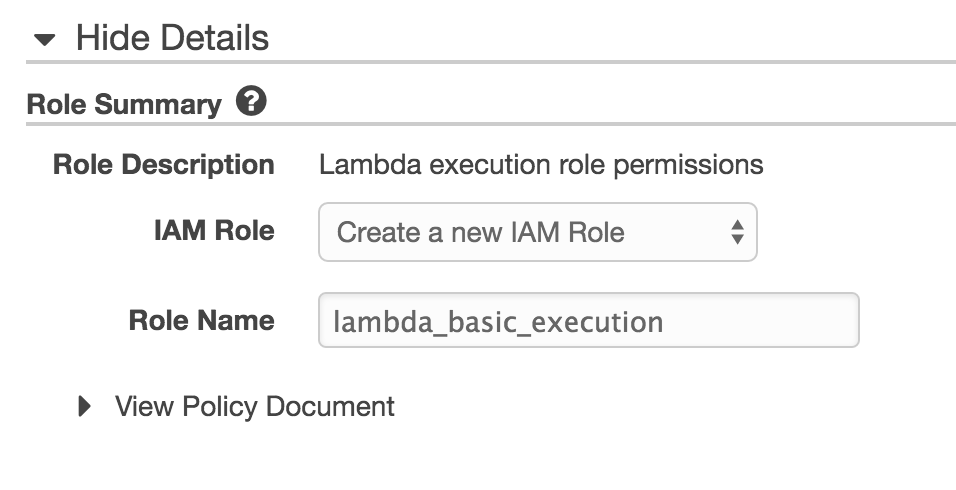
In Lambda function handler and role, use main.handler for the
handler and choose the Basic execution role. This will open a popup
prompting you to create a new IAM Role, just allow with the default
settings.

Figure 2: Setup IAM role
Back on our function setup, leave the Advanced settings as is and
click Next.
Finally, we can review and create the function. Congratulations you created your first AWS Lambda function.
Testing our lambda function
On the lambda function screen click Actions then
Configure test event. Here we can write some JSON that will be
received by our Node.js handler as the event parameter.
{
    "email": "karl@marx.com"
}
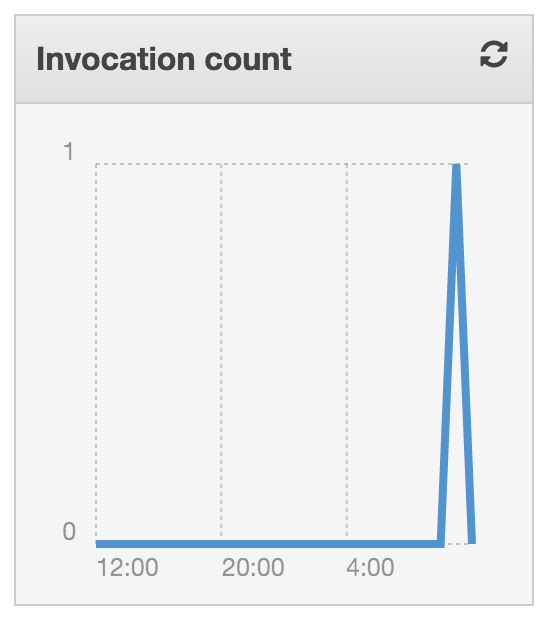
Click Save and test. This will execute our lambda function. If you
click Monitoring, you can see that we ran our function once.

Figure 3: Lambda monitoring
To view the result, click View logs in CloudWatch. We're presented
with a list of log lines.

Figure 4: Log lines
Click the first line and boom karl@marx.com is indeed a valid email.

Figure 5: Lambda function result
What can we do from here?
Our email checking micro-service is still lacking an interface, we could use Amazon API gateway to create a simple endpoint where we could POST the string we want to check and return a proper response for example.
That's it! We successfully ran some Rust code on AWS Lambda. Have fun Rustaceans :)
You can find the full code and the Linux binary here.